Resources
In this section you will find downloadable pdfs for all the laundromat cycle resources.
The zine workbook captures all stages, but there are also stand-alone resources to incorporate into your own version of a laundromat.
Full details of the intent of the stages and practice notes for facilitators are in the laundromat cycle section

Licencing
The whole set of laundromat resources is licensed under a Creative Commons Attribution-NonCommercial-ShareAlike 4.0 International License.
Doing your own laundromat? Let us know!
Using the resources? Please tell us! Drop us an email at laundromat@makinggood.design.
We’re really interested in how it's being used and where.
Citing us
If you are referencing it, please use:
Bailey, J. and Salmon, R., (2023), ‘A load off your mind’ science communication laundromat. [Resource]. laundromat.makinggood.design
And we love to hear about where and when it has been cited so please let us know.
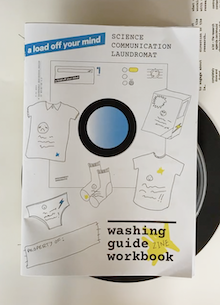
The zine workbook
The zine workbook is an A4 document best printed on A3 paper and folded into an A4 booklet that can be ‘saddle-stitched’ (which means stapled through the fold on the spine).
If you have access to a decent A3 copier that will print double-sided and a long-arm stapler you can DIY this fairly easily.
If you can outsource it to a print shop, that's even easier!
There are options here to cover all bases. If you just want a nosey on-screen, options 1 or 2 are easiest.
1. Download the zine workbook as single pages
A4, best suited to double-sided A4 printing, or screen viewing (pdf, 6.5mb)
2. Download the zine workbook as double-page spreads
2-up A4 pages equals A3 paper size, best suited to on-screen viewing or printing individual spreads (pdf, 6.4mb)
3. Download the zine workbook as double-page paginated A3 pages
The pages are sequenced so printing double-sided A3, flipped on the short edge will fold down to an A4 booklet with the pages in the correct order (pdf, 6.8)
4. Download the zine workbook to supply to a print shop
Single pages with printer marks that a print shop should be able to use to generate a folded A4 booklet, saddle-stapled and trimmed (pdf, 6.5mb)
Have a sneak peak at the zine workbook in this flickthrough:
Setting up: washing machines and props
Runsheets
View a google sheet example runsheet for in-person and online laundromats (so you can copy it for your own use and paste into any spreadsheet programme)
washing machine
You will need a cardboard box to start. The standard box size is 510x380x585mm. In New Zealand, this is usually described as a no.9 carton.
We have produced an alternative to fit a 609x609x609mm (24x24x24 inch), which seems to be more freely available in Europe and the US.
Washing machine ‘skin’
These documents are designed to be printed on a wide-format roll printer, but you could also print individual sides:
510x380x585mm box options:
Top for 510x380x585mm box (pdf, 474kb)
Sides to fit 510x380x585mm box as a single print wrap (pdf, 764kb)
or
Sides for a 510x380x585mm box as individual sheets (pdf, 778kb)
609x609x609mm box options:
Top for a 609x609x609mm box (pdf, 474kb)
Sides to fit 609x609x609mm box as a single print wrap (pdf, 1.1mb)
or
Sides for 609x609x609mm as individual sheets (pdf, 1.1mb)
If you are wrapping the boxes with a single sheet, assemble the boxes with parcel tape, then secure one end of the wrap in position with double-sided tape (a few squares should be sufficient). Then, roll the box until the wrap is all the way around. Pull it tight, and double-sided tape it in place. There’s no need to tape every side.
Your top can be secured with a square in each corner. No need to go overboard with tape.
Use your bowl to draw around where the door should go so you make the cut out the right size. Use a sharp craft knife to ‘saw’ through the cardboard. Push your bowl in place to check the fit.
Using a bradawl or a drill, make holes in the edge of your plastic bowl and through the washing machine. Secure the door with zip ties or binding clips.
Use a craft knife and a metal rule to cut through the box on the lines of the sliders. Push the foldback clips through the slits.
You will also need:
- A washing machine door (a round plastic container like this)
- Three sliders (fold-back clips, like these)
- A knob (plastic bottle cap)
- Hinges (zip-ties or circular binder clips/card rings, like this)
Other props
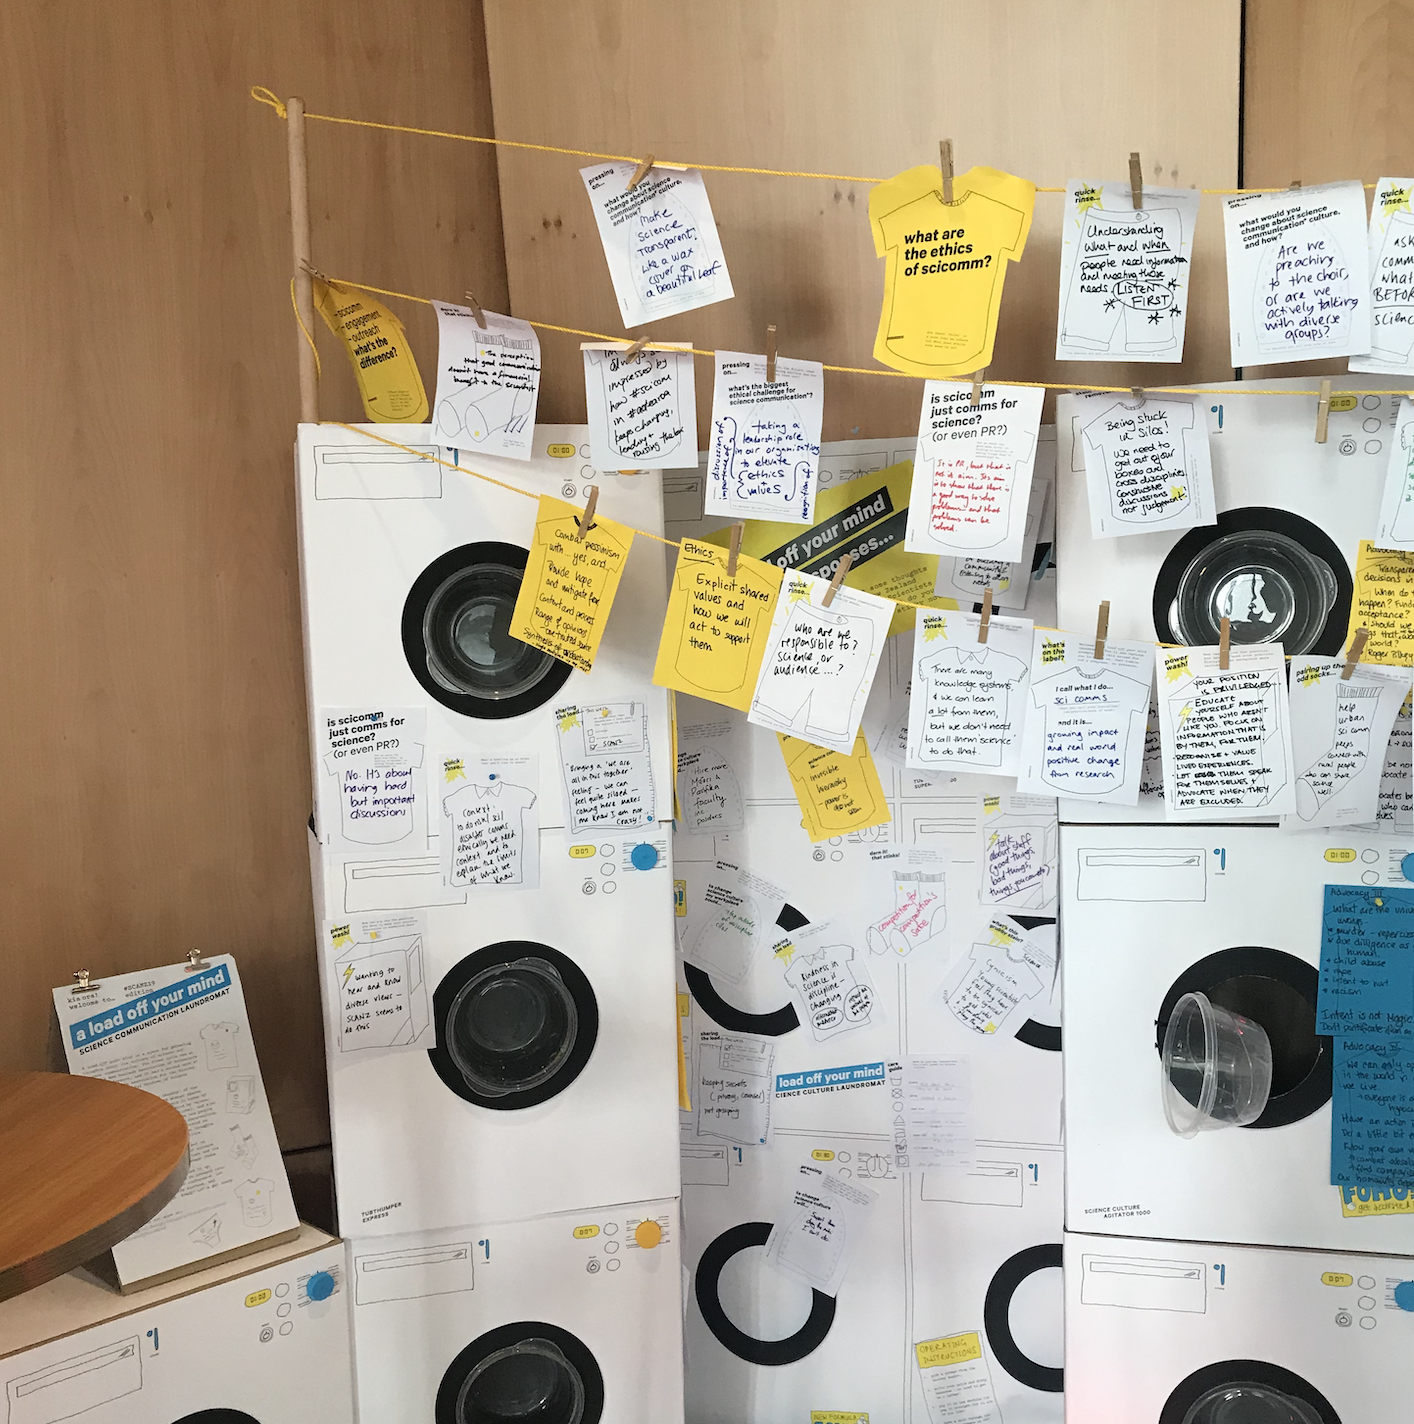
- pegs, like these
- mini ‘laundry baskets’, like these
- drying rack, like this
- ironing board,ilike this (remove cover)
- a washing line, like this
You'll also need felt=tip pens/sharpies, drawing pins/map pins and sticky notes. You can get all of these in colour-cordinated cyan and yellow!
(No endorsement of these products implied – they are just similar to what we used.)
self-supporting washing line
We have built a self-supporting laundromat washing line between stacks of cardboard washing machines when we've had nothing to tie a line to at the venue.
Make four (or six) plain washing machines. Take two broom handles, and drill holes at the top.
Make small cut-outs in two of the washing machines in the back corner to slip the broom handles into snugly (one back left, one back right, so that the washing line will span over the washing machines symetrically). You might also want to make internal loops from cardboard or zip ties to hold the broom handles in place at the bottom.
Put the broom handles in the holes, and stack the washing machine boxes on the other machine boxes so they are two or three boxes high. The broom handles should now be head height at the top, and you can string your washing line between the two.
Weight your washing machines down by popping plastic milk bottles filled with water inside them – two bottles in each is sufficiently sturdy to support a line full of paper garments (just check the tops are on tight!).
A knob made from a bottle top, with a bolt securing it in place, and a pointer made from cardboard
Foldback clips used as sliders on the front of a machine
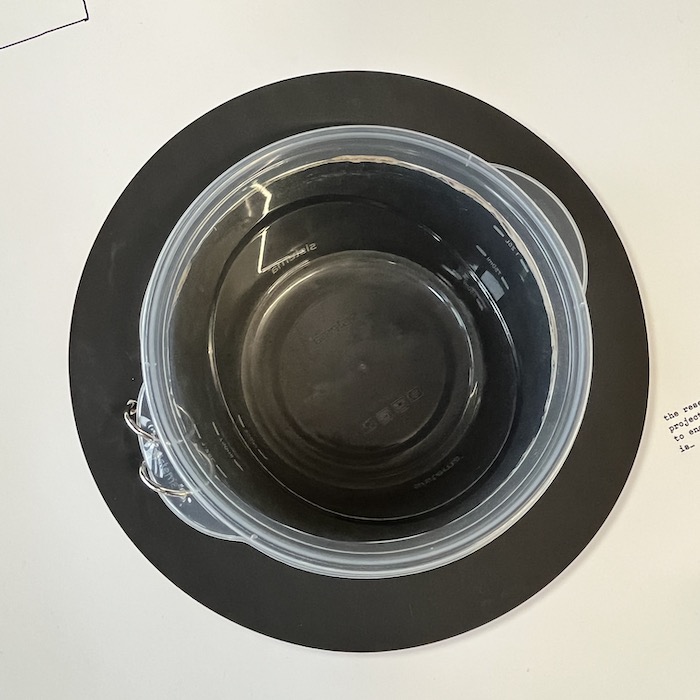
The bowl door held in place with binding clips
A broom-handle system to support a washing line when we were not able to attach anything to walls
Stage 1: gather up the laundry pile
Download a pdf of the survey (359kb)
This is a four-page A4 document suitable to print double-sided.
Download the name tag instructions and template (pdf, 213kb)
This is a four-page A4 document designed to be printed double-sided.
Download the name tag generic template only (pdf, 131kb)
This is a two-page A4 document designed to be printed double-sided.
Drawing it out person template
Download an A3 person shape template (for the drawing yourself exercise) (pdf, 70kb)
Engagement is…
Download A4 sheets to cut down to A5 (two t-shirts to a sheet): yellow (pdf, 26kb)
Download A4 sheets to cut down to A5 (two t-shirts to a sheet): black and white only (pdf, 26kb)
Download A4 single t-shirt: yellow (pdf, 40kb)
Download A4 single t-shirt: black and white only (pdf, 36kb)
Stage 2: sort the laundry
Download the slides without notes (pdf, 6.1mb)
Download the slides with notes (coming soon)
Watch the scicomm 101 video with audio (for facilitators):
Download garment prompts, A4 to cut down to A5 (two to a sheet) (pdf, 1.2mb)
These are normally printed and given to each group in a C5 (162mm x 229mm, to fit A5 paper) envelope. We either pop these in their zine for single-member projects or in a washing basket for teams. We usually print a sticker for the envelope too:
Download peg ‘em up prompts envelope stickers, A4 to cut down to C5 (pdf, 606kb)
This file has two pages: one with a sticker for an envelope to put a washing line in (for laundromat-in-a-box packaging) and one for prompts, and one with two prompt envelope stickers). Buy A4 sticker sheet, the two-to-a-sheet versions save you trimming!
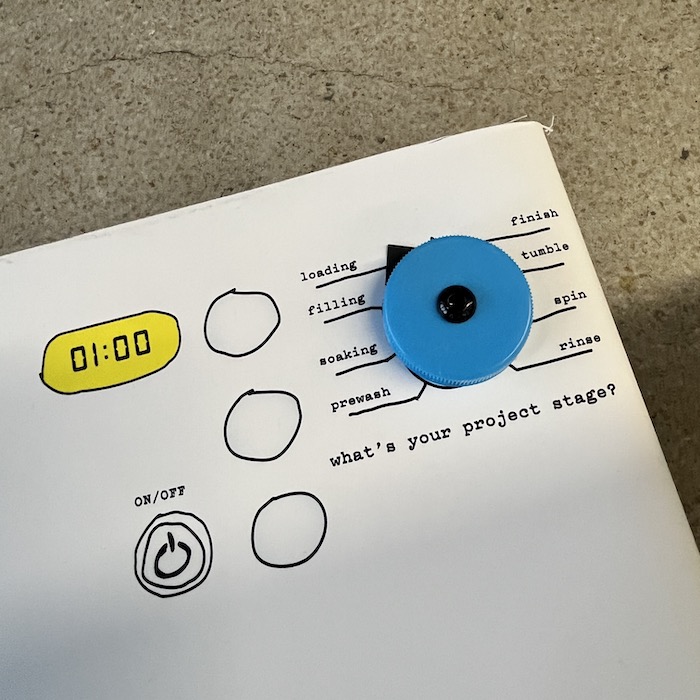
Stage 3: choose the settings
There are not any specific resources needed for stage 3 beyond the washing machine and zine workbook
If you want to add sticker slider finger buttons, or print card ones and blue tack them onto page 27, there is a sheet you can print here (pdf, 2mb).
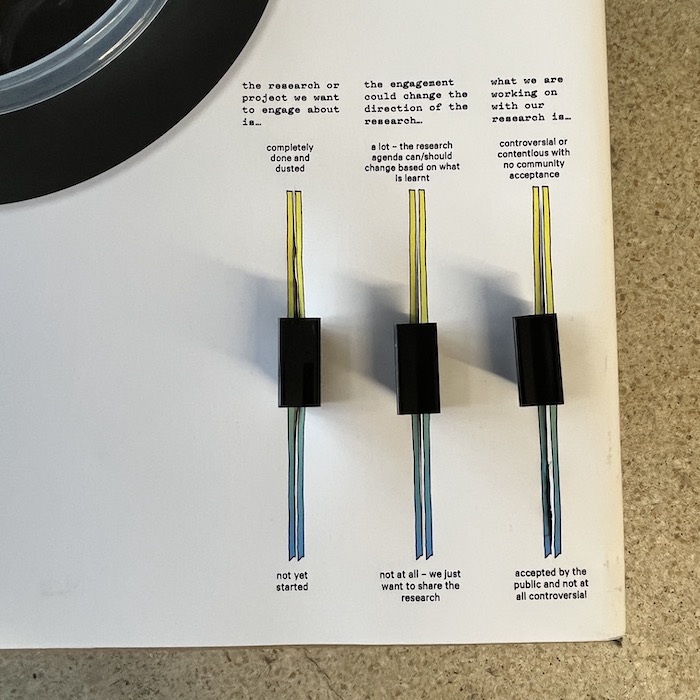
Stage 4: soak + spin
Download an A3 wheel worksheet (pdf, 94kb)
This is also in the zine workbook on pages 30–31.
Download an A1 wheel worksheet (pdf, 497kb)
This is similar in scale to the wheel on the washing machine, and is good for groups
Stage 5: rinse + wring
Download an A2 ‘who’s in the spin?’ worksheet (pdf, 456kb)
This is similar in scale to the top of the washing machine, and is good for groups
Download an A3 ‘who’s in the spin?’ worksheet (pdf, 455kb)
There are not any specific resources needed for this step beyond the zine workbook
Stage 6: hanging out to get it done!
Download an A1 priorities washing line planner (pdf, 511kb)
Stage 7: fold + press
Stage 8: ready to wear
There are not any specific resources needed for this step beyond the zine workbook
We have on occasion produced a note-to-future-self card that participants can use to fill in their three next steps, and have it mailed to them six weeks later as a prompt. Print these on A6 pre-folded cards like this double-sided.
Download a note-to-future-self card (pdf, 495kb)